How to Install Shower Doors on a Bathtub: A Comprehensive DIY Guide
Upgrading your bathroom by adding shower doors to a bathtub is a premier way to blend functionality with modern aesthetics. Beyond the sleek look, a door effectively contains water, preventing splashes better than a traditional curtain. Whether you are a DIY enthusiast or preparing for a professional install, this guide explores the essential steps, tools, and styles required for a successful transformation.
Types of Bathtub Shower Doors
The first step is selecting the right design for your space. Consider your budget and bathroom layout before choosing from these common styles: sliding bathtub shower door and hinged bathtub shower door
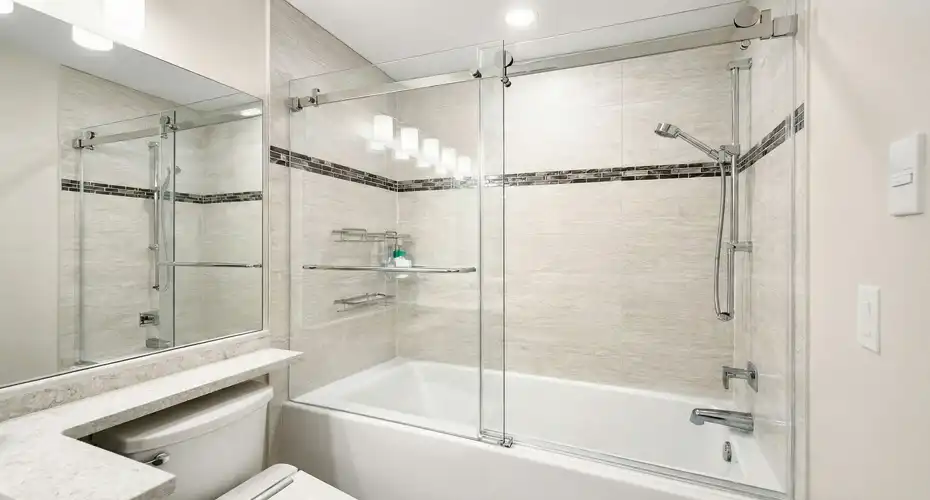
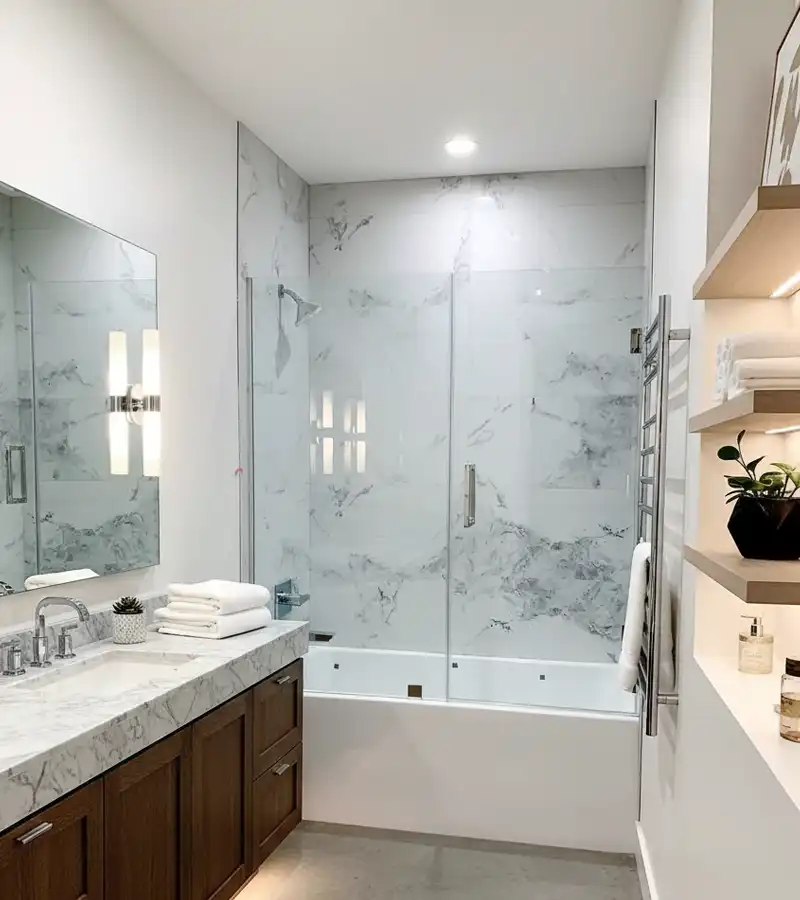
Sliding Bathtub Shower Door
These consist of two panels sliding along a track. They are excellent space-savers since they require no outward clearance.
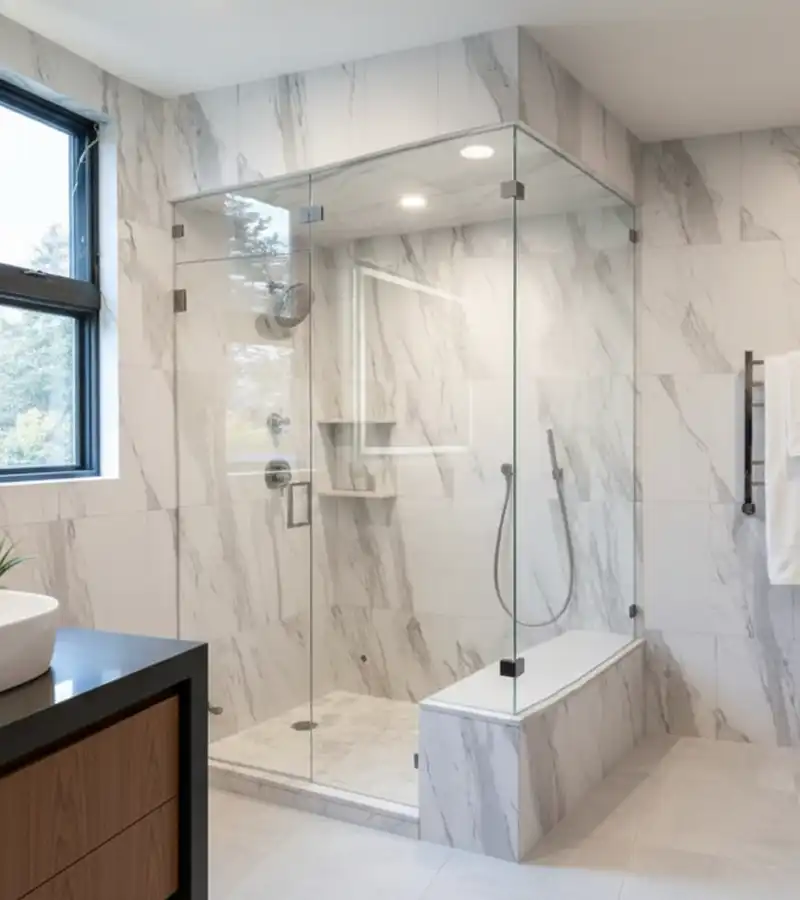
Hinged Bathtub Shower Door
These swing open on pivot hinges. While they offer a high-end, custom appearance, they require enough floor space to accommodate the door’s swing.
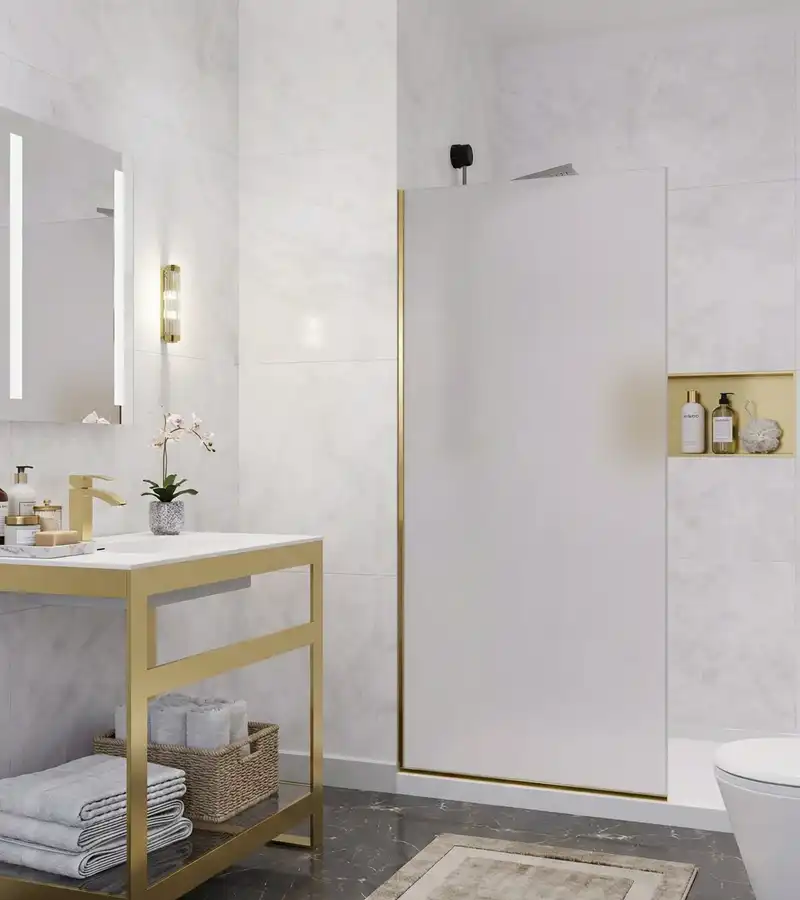
Frameless Bathtub Shower Doors
These feature thick, tempered glass attached directly to the hardware without a metal perimeter. This creates a seamless, modern look but typically comes at a higher price point. If you’re considering custom shower doors, a frameless design is often a top choice.
Materials and Tools Required for Bathtub Shower Door Installation
Gathering your equipment beforehand ensures a smooth process. Ensure all hardware is corrosion-resistant and the glass is tempered for safety, especially for glass shower panels.
Materials:
- Shower doors
- Silicone adhesive
- Clear waterproof caulk
- Caulking gun
- Plywood
- Shims
- Screws
Tools:
- Measuring tape
- Pencil
- Power drill and drill bits
- Screwdriver
- Hacksaw (for track adjustments)
- Level
- Utility knife
- Safety glasses and gloves
Measuring and Preparing the Bathtub Area
Precision is vital. Follow these preparation steps:
- Measure the width of the opening at the top, center, and bottom.
- Check the height of your walls against your chosen door.
- Clear the area of old curtains, rails, and hardware.
- Scrape away old caulk with a utility knife and clean the surface thoroughly.
- Account for a 1/4 to 1/2 inch clearance on all sides to allow for frame adjustments.
Step-by-Step Guide to Installing Shower Doors on a Bathtub
Step 1 – Prepare Tracks
Measure the tub ledge and walls. Mark the tracks with a pencil and use a hacksaw to cut them to size. File down any rough metal edges.
Step 2 – Install Bottom Track
Apply a bead of silicone adhesive to the underside of the U-shaped bottom track. Center it on the tub rim and press firmly. Drill pilot holes and secure it with screws, using a level and shims to ensure it is perfectly flat.
Step 3 – Install Side Tracks
Apply adhesive to the back of the side tracks. Position them vertically, ensuring they overlap the bottom track correctly. Use a level to ensure they are plumb, then drill and screw them into the wall every 8 inches.
Step 4 – Secure Doors
For sliding shower doors, angle the panels to insert rollers into the tracks and test the glide. For hinged shower doors, attach the hinges to the panels and mount the hinge plates to the wall, adjusting for a flush fit.
Step 5 – Caulk All Edges
Apply clear caulk along all tracks and joints where the metal meets the wall or tub. Smooth the beads with a fingertip and allow the caulk to cure for at least 24 hours before use.
Common Mistakes to Avoid When Installing Shower Doors
- Not Measuring Correctly: Rushing the measurements often leads to tracks that don’t fit.
- Neglecting to Use a Level: If the tracks aren’t level, doors won’t slide or seal properly.
- Overtightening Screws: This can crack your tiles or the tub surface.
- Inadequate Caulking: Skipping seams will inevitably lead to water leaks and structural damage.
Maintaining and Cleaning Your Shower Doors
Keep your new glass shower doors sparkling and functional:
- Prevent water spots: Use a squeegee after every shower.
- Regular cleaning: Use non-abrasive cleaners weekly to protect the glass shower panels.
- Check the seals: Periodically inspect the caulk for gaps and reapply as needed.
To simplify your project even further, we’ve prepared a printable checklist of essential tools, materials, and precise measurement guidelines tailored for your specific bathroom project. This will ensure you have everything ready before you start, combining our expert advice with your specific bathroom needs.
-
steam shower glass: 💎 Unmatched style & durability
Redefine Luxury with Bespoke steam shower glass door. ProShower delivers premium glass solutions, custom design & installation in Vancouver. Enhance your space today!
-
The Best shower glass panel Options for Your Home
Timeless Design, Modern Tech: The New fixed shower glass panel from ProShower. Explore premium shower glass panels, custom designs & expert installation in Vancouver & Fraser Valley. Elevate your bathroom today!
-
Secure & Stable: The Reinforced hinged bathtub doors | Lowest Price Guarantee on All swing frameless tub doors
Lowest Price Guarantee on All hinged tub door from ProShower. Discover secure, stable shower glass in Vancouver & beyond. Premium quality, expert installation. Get your free quote today!
Related Posts


No Comments